User Manual - Self Checkout (SCO)
Welcome Screen
The self checkout opens up with a welcome screen, where the user can scan items directly tab the screen to go to the cart view. All colors and image can be configured to match the CI of the merchant.
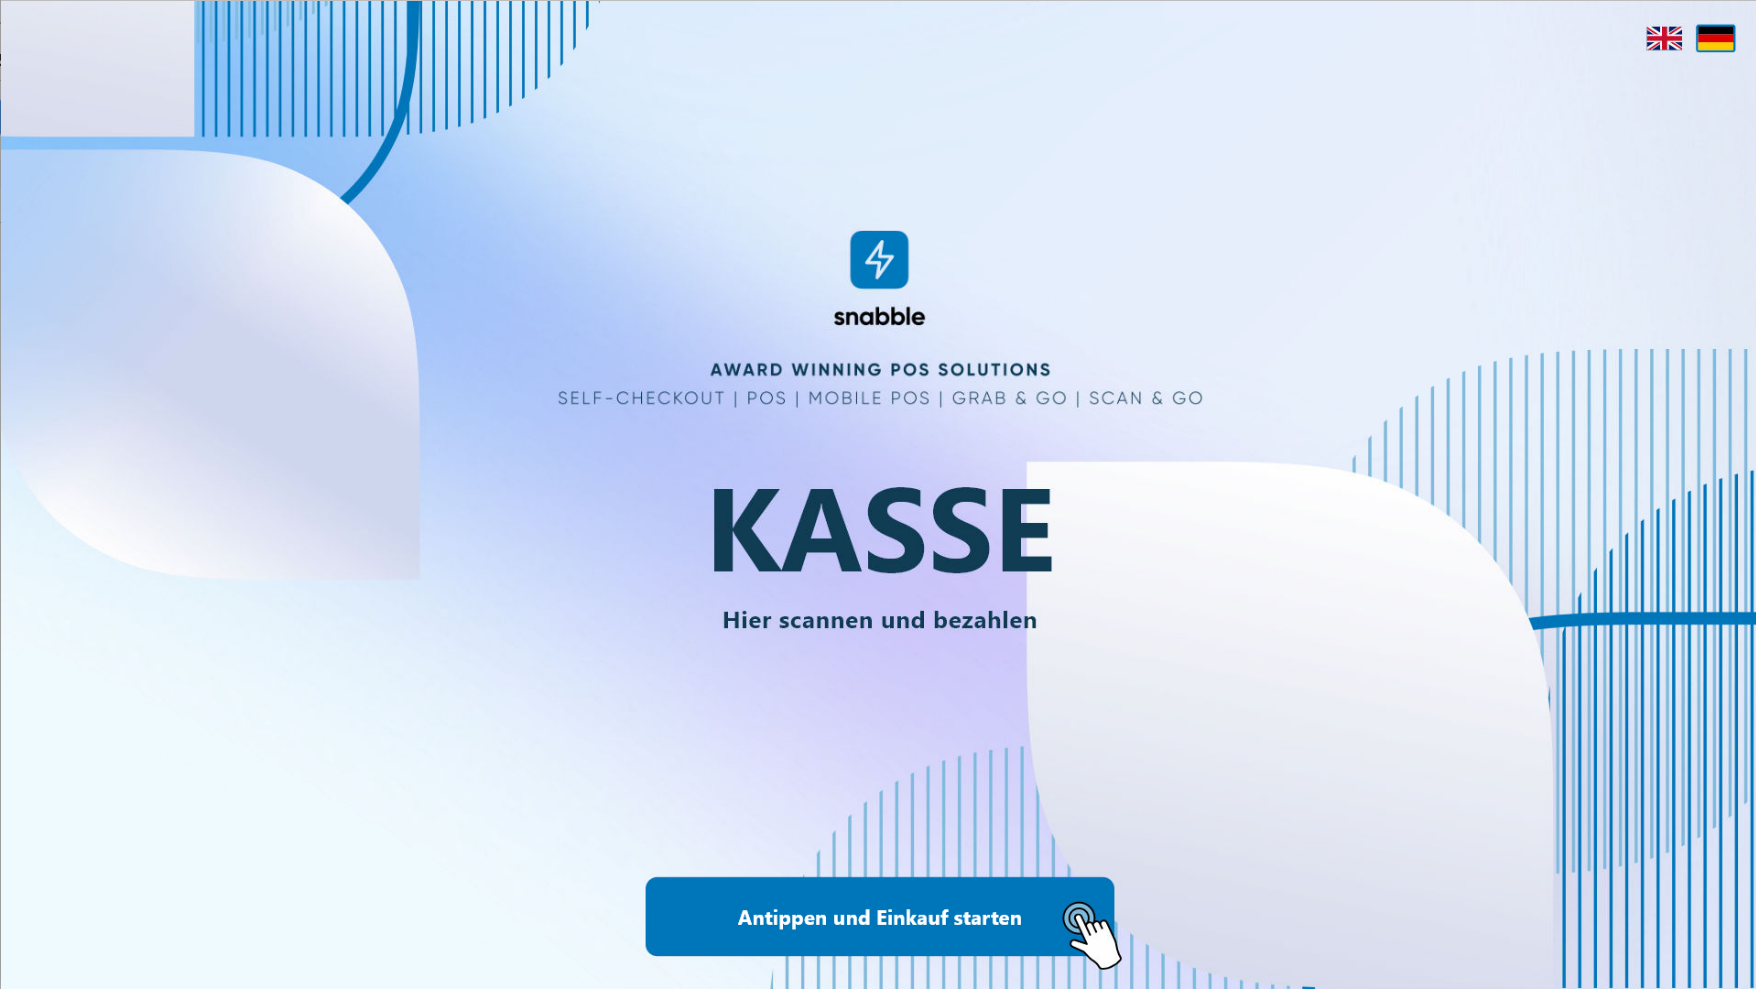 | Welcome screen. |
Shopping Cart
There are multiple ways of adding an item to the cart:
- Selection in the menu
- Scanning with an attached scanner
- Entering the EAN or SKU in the dialog behind the search icon
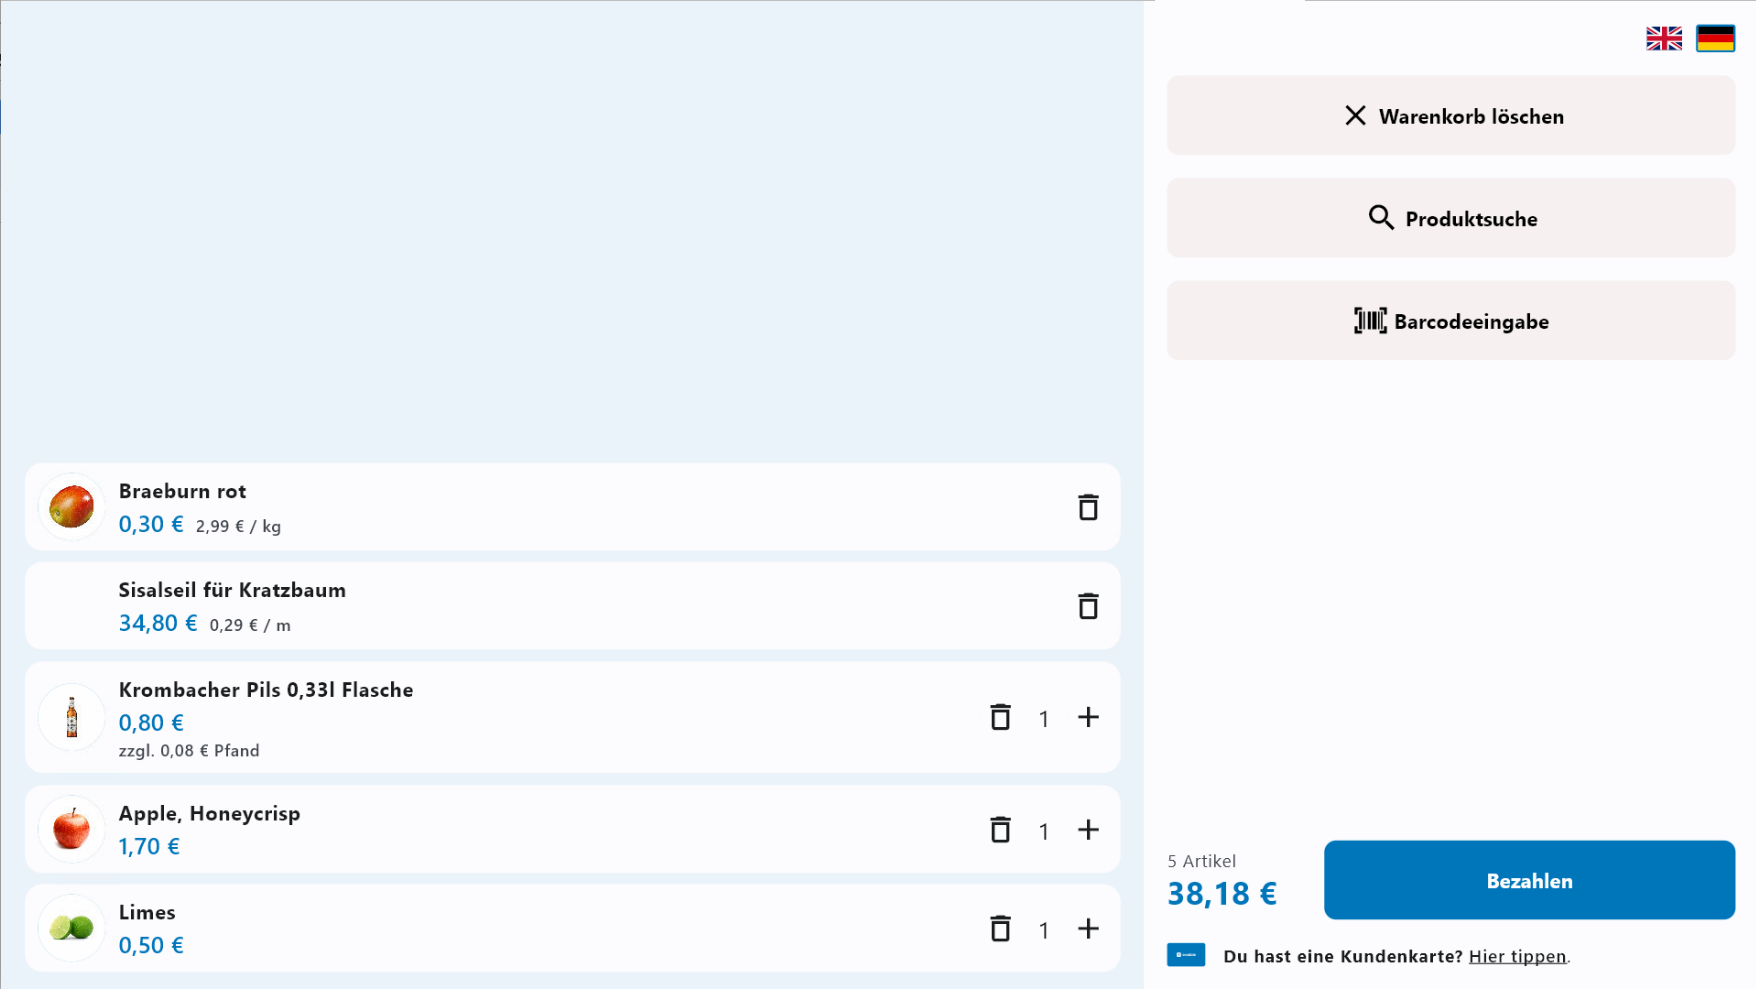 | Cart view in landscape mode. |
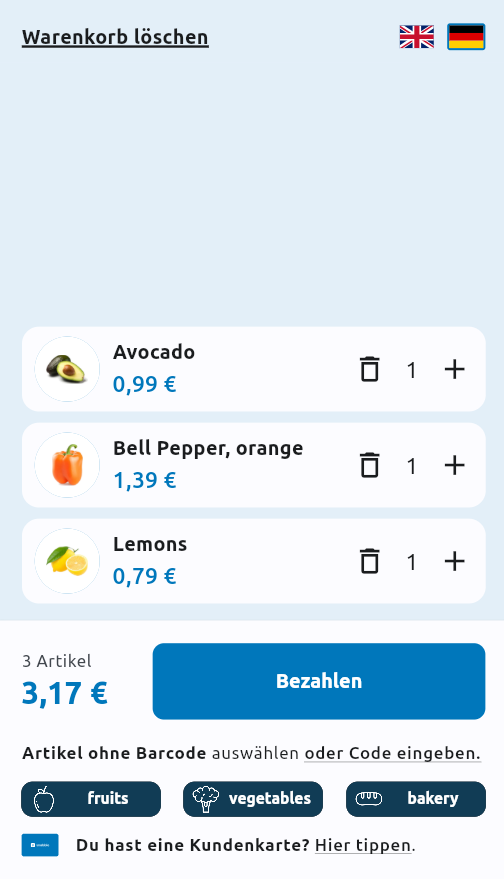 | Cart view in portrait mode. |
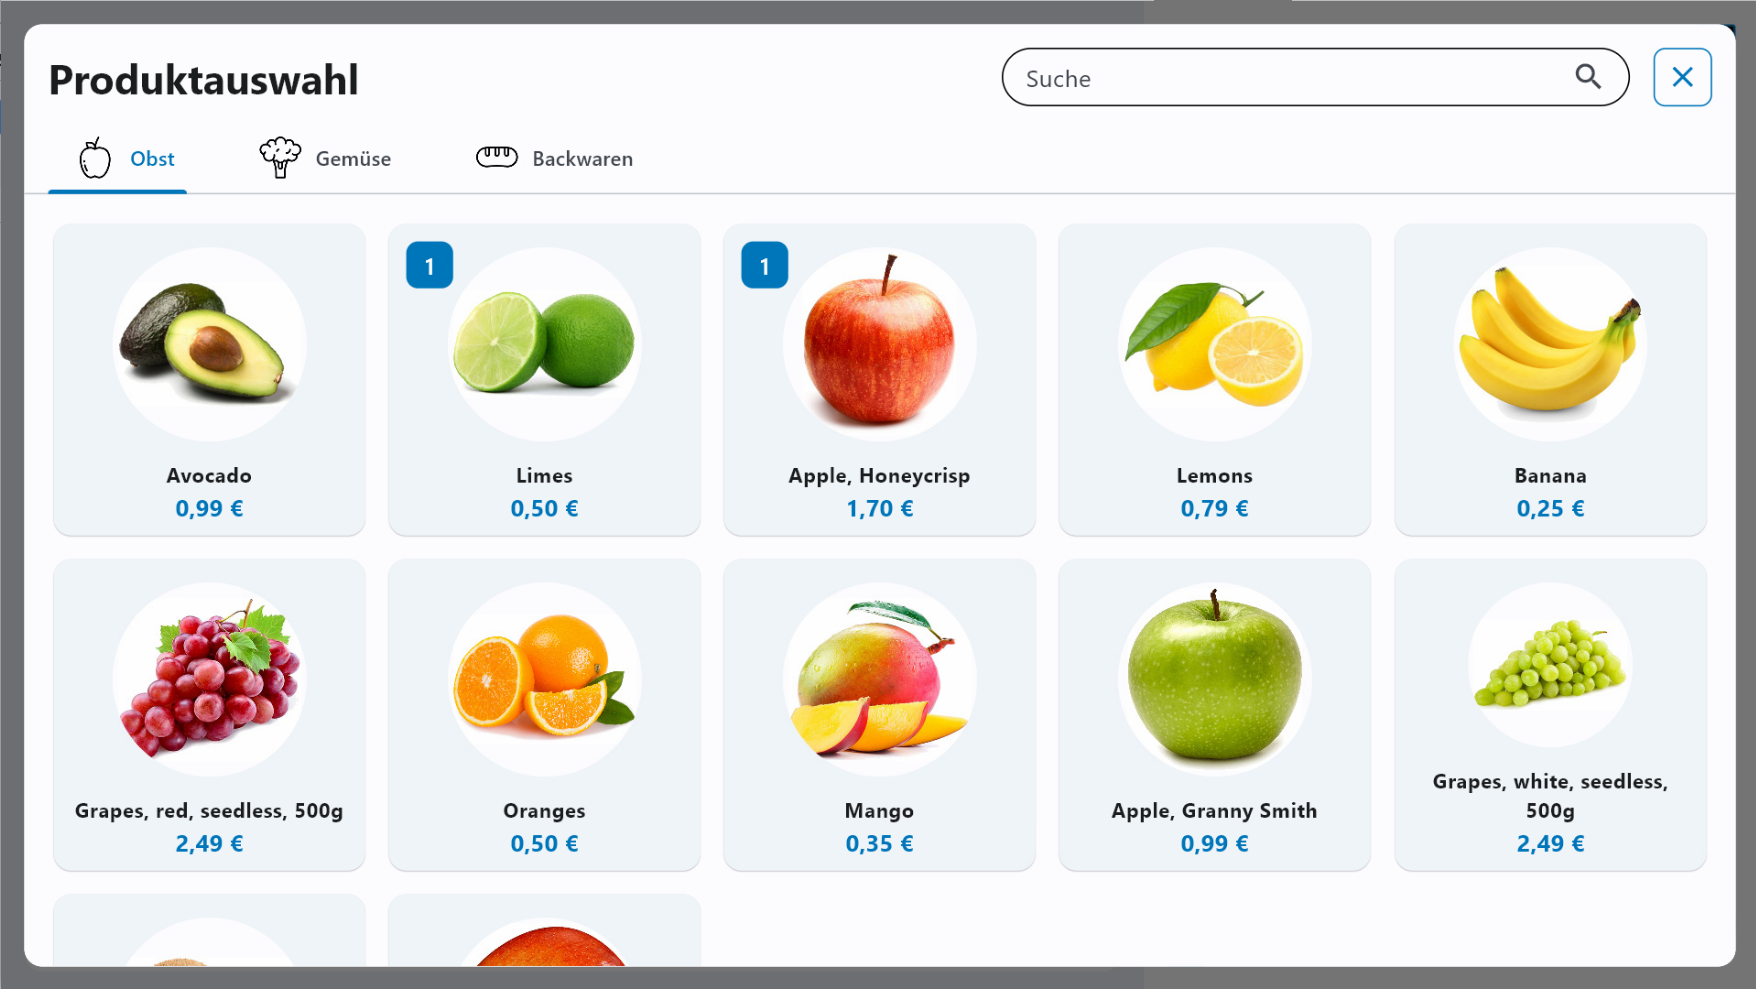 | Item selection from the categories. |
Age Verification
When scanning age restricted items, an attendant has to login and verify the age of the customer.
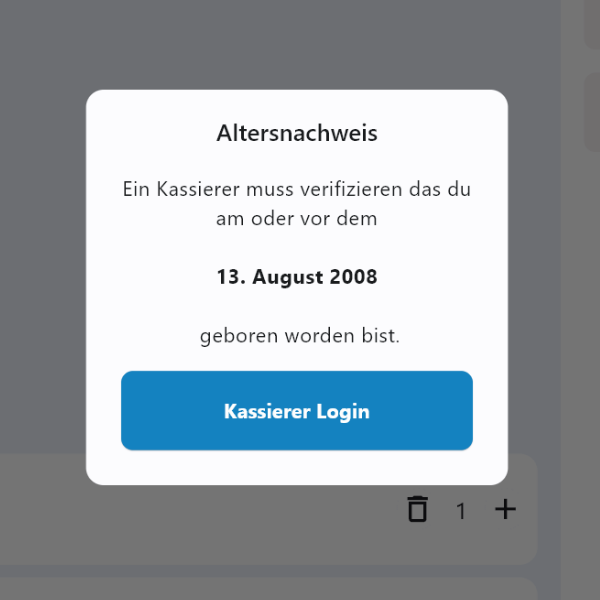 | Age verification dialog. |
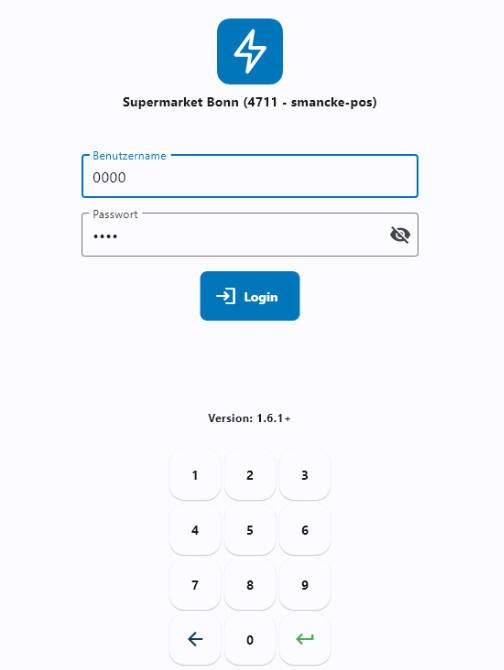 | Login for the attendant can be done by username/password or by scanning a login QR code. |
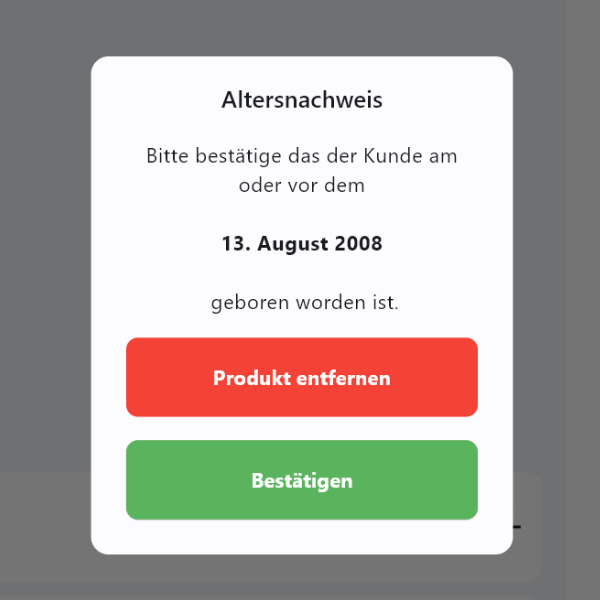 | After login, the attendant can verify the age of the user or remove the scanned item. |
Special Items
For special items, additional behaviour can be configured.
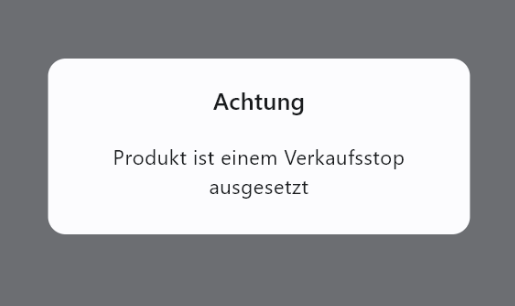 | Items which are marked as 'sale stop' can not be added to the cart. |
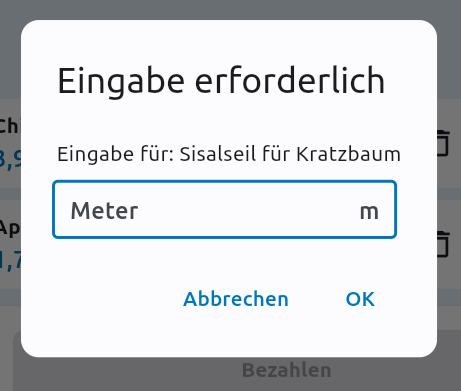 | If configured, the dimensions (e.g. length, count, weight) have to be entered. |
Customer Card / Loyalty Card
If a customer card or loyalty card is configured for the merchant, the user can scan or enter it on the self checkout UI.
 | Tab this link to register the customer card. |
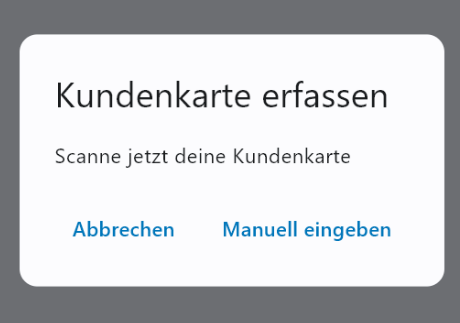 | Scan the code on the customer card. |
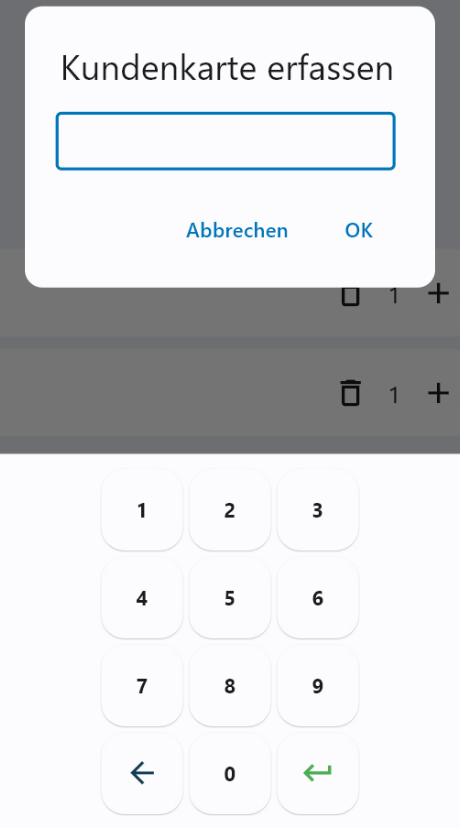 | Enter the code, alternatively. |
Payment
After hidding the payment button, the card payment can be done on the attached pament terminal.
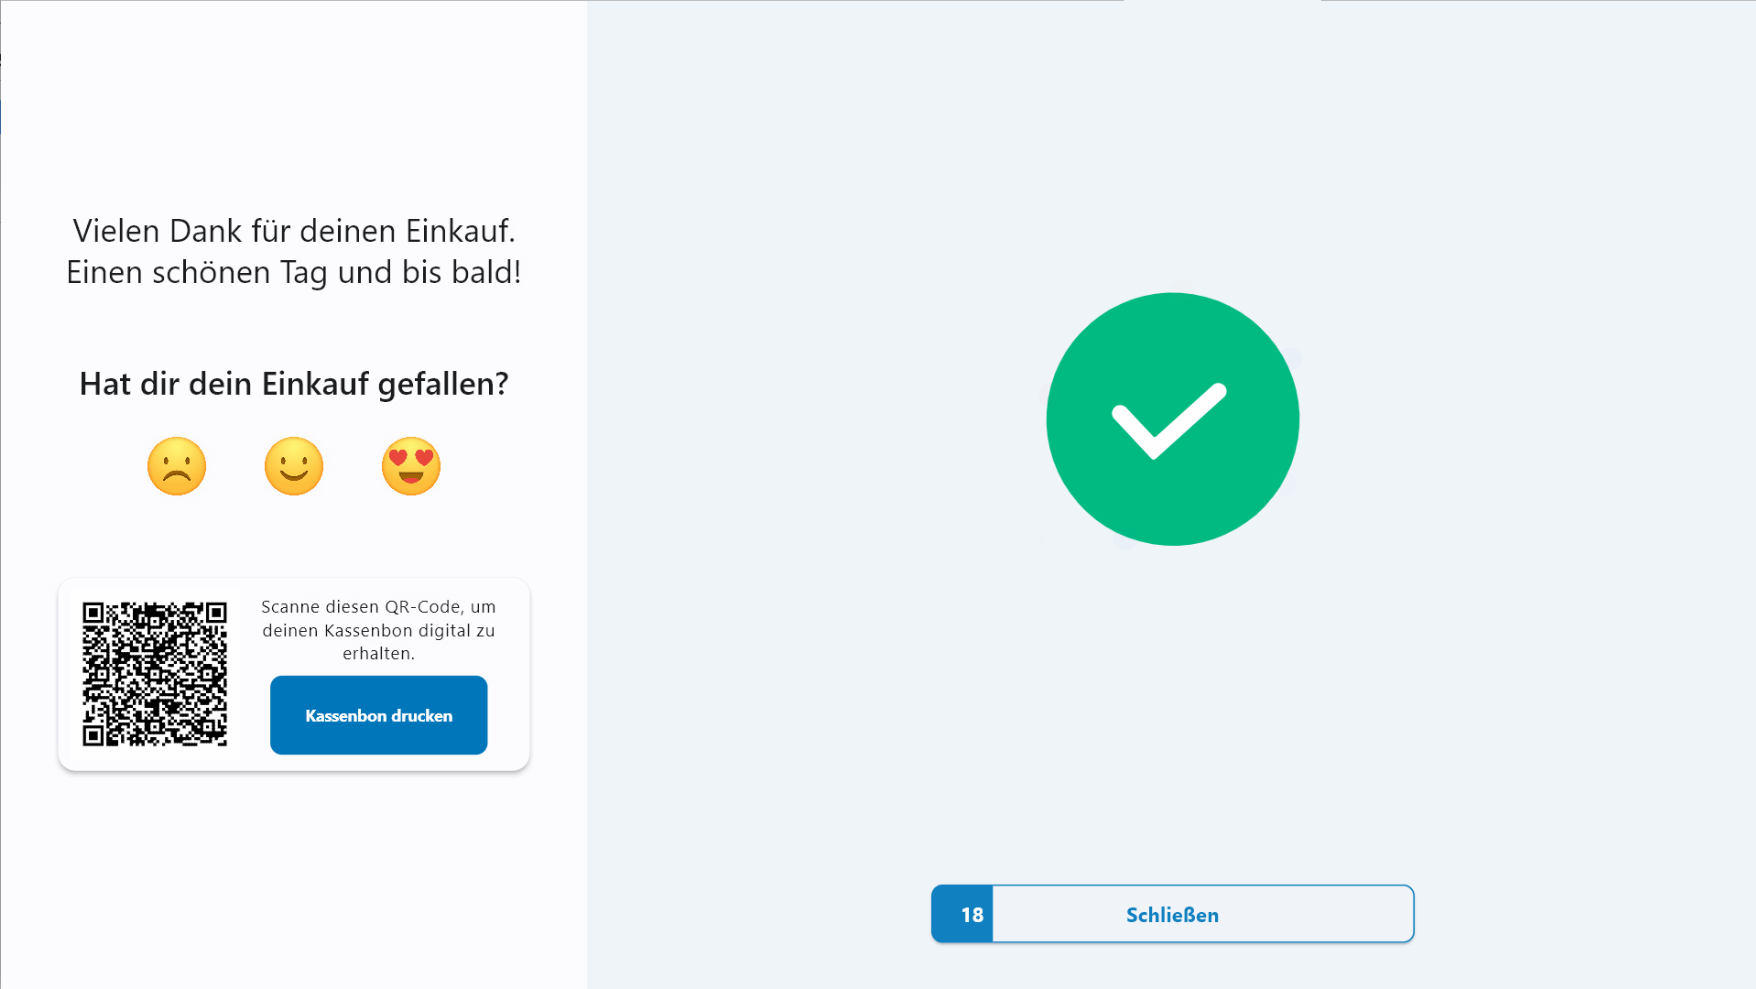 | The payment success screen provides a digital receipt and the possibility for user ratings. |
Attendant Mode
To activate additional features, a cashier can log in at the self checkout. The login can either be done by scanning a login QR code. Alternatively, the login screen can be called up by pressing the bottom right corner of the screen for 5 seconds.
 | Login with username/password after pressing the bottom right corner for 5 seconds. |
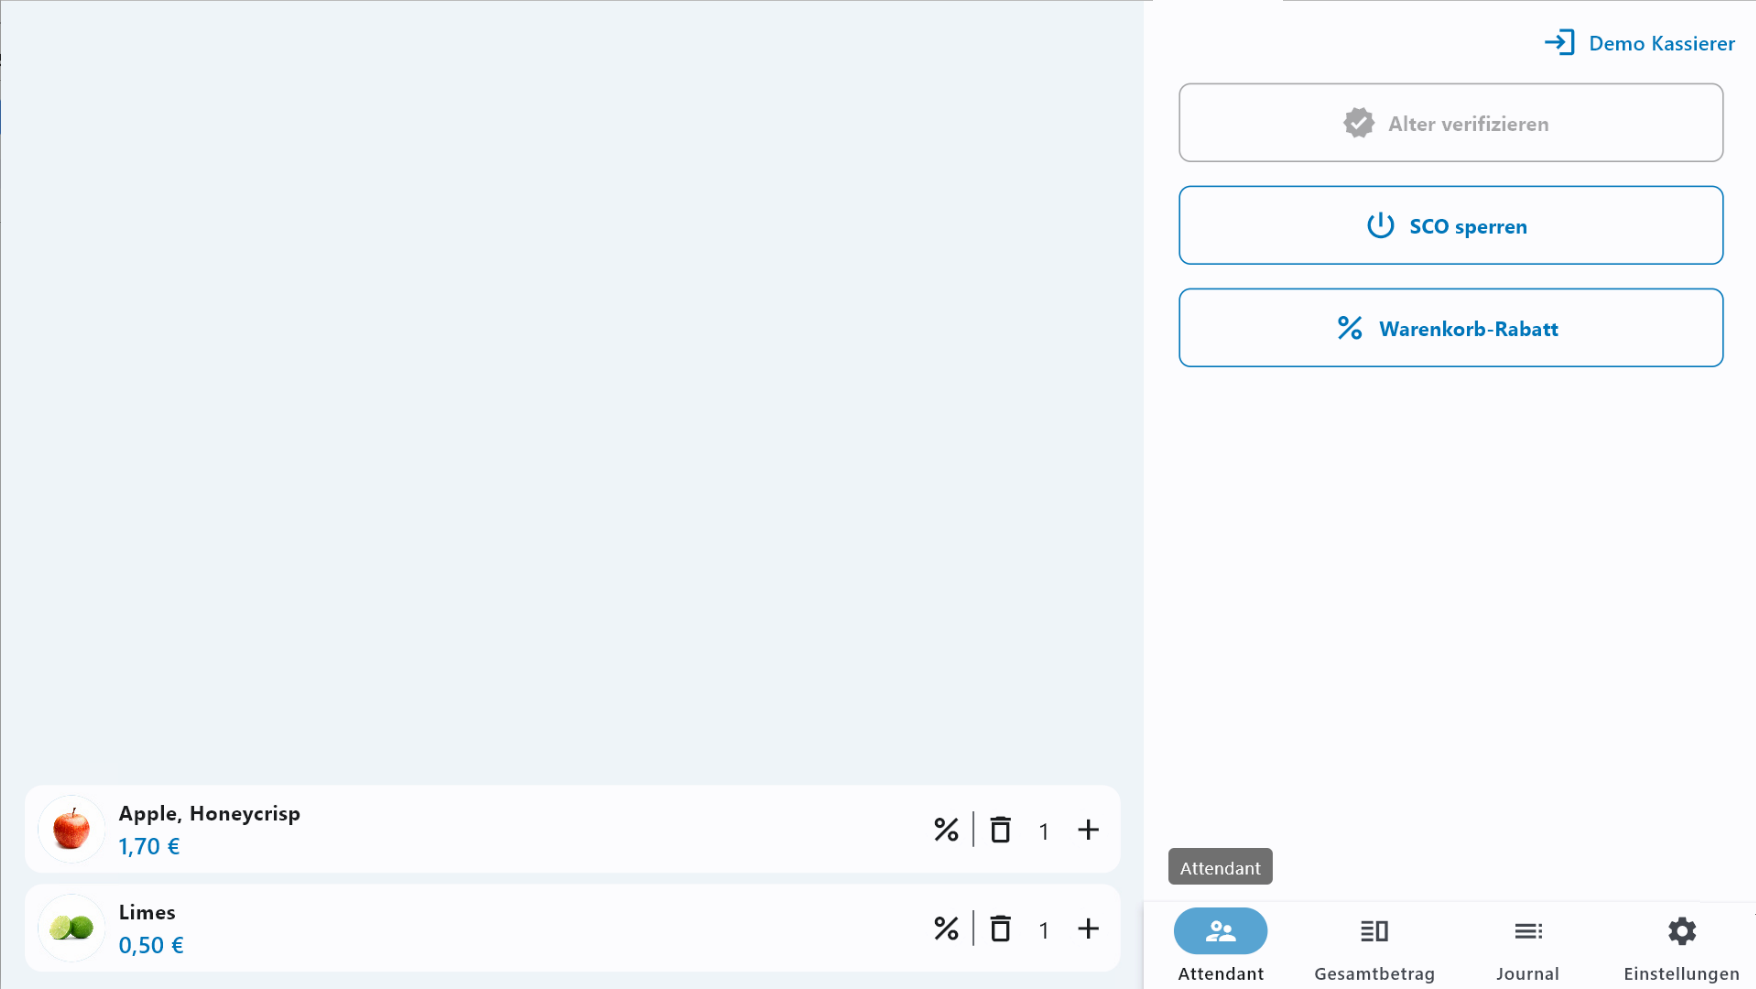 | The attendant view has additional button for line items and cart discounts. |
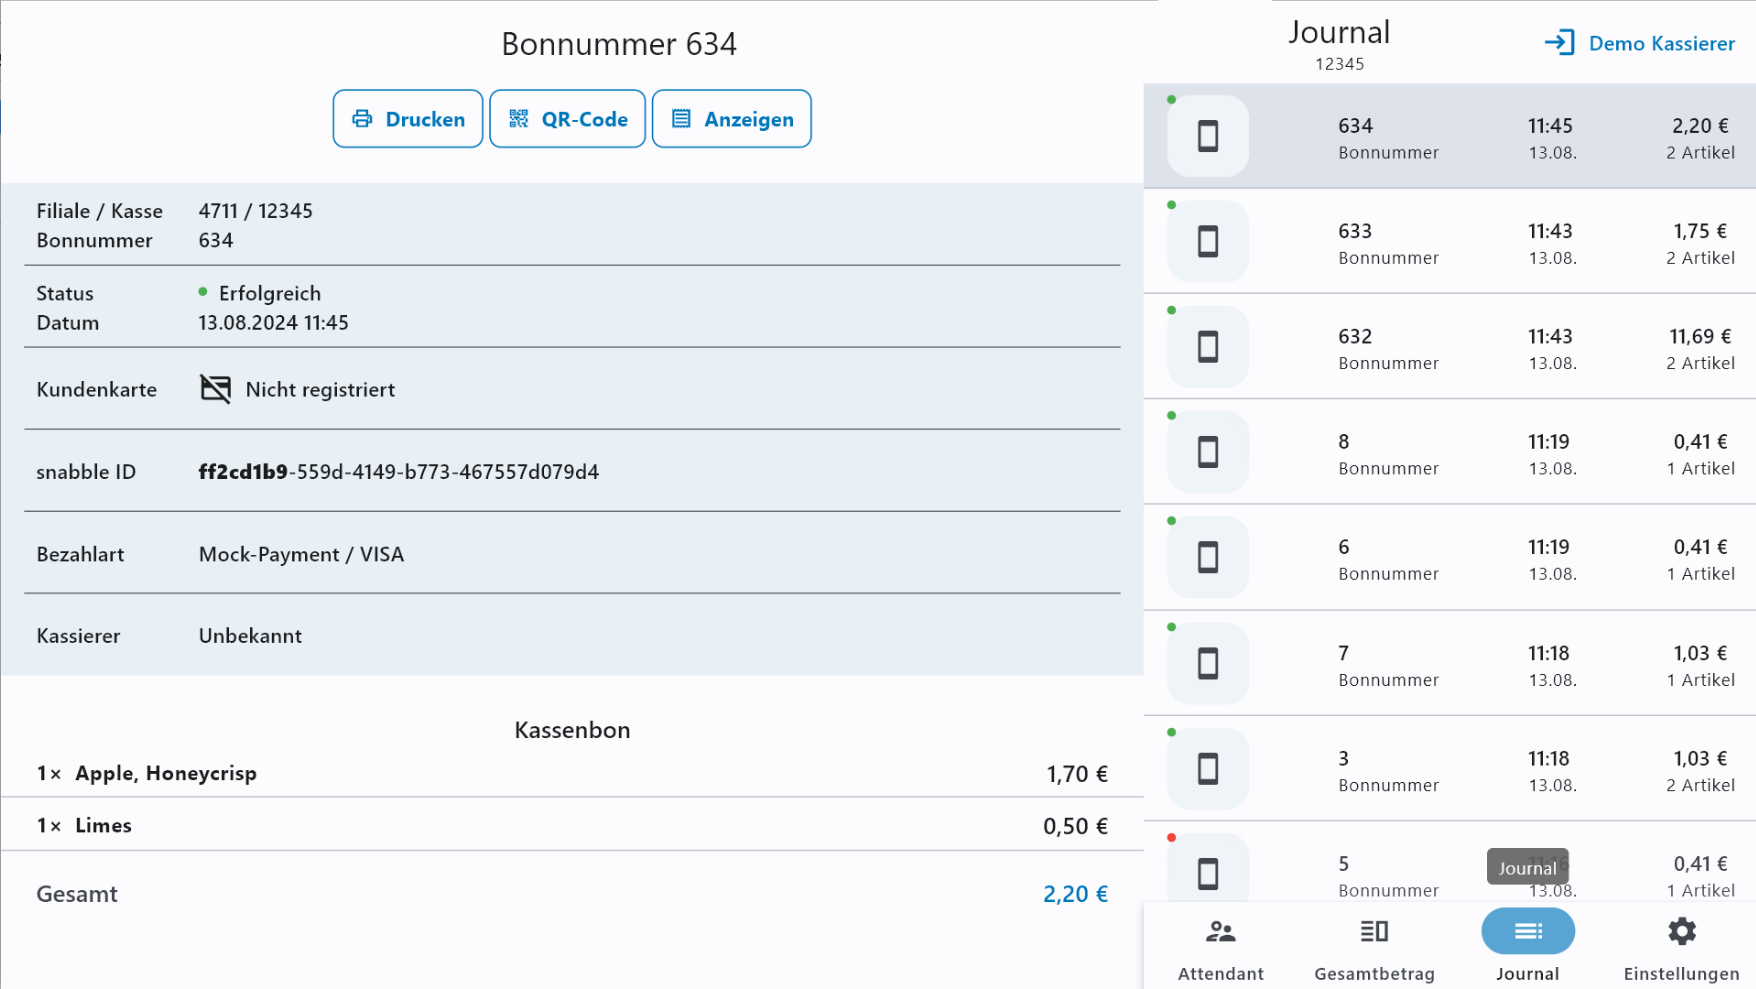 | The attendant can access the journal with all transactions of the device. E.g. for reprinting a receipt. |
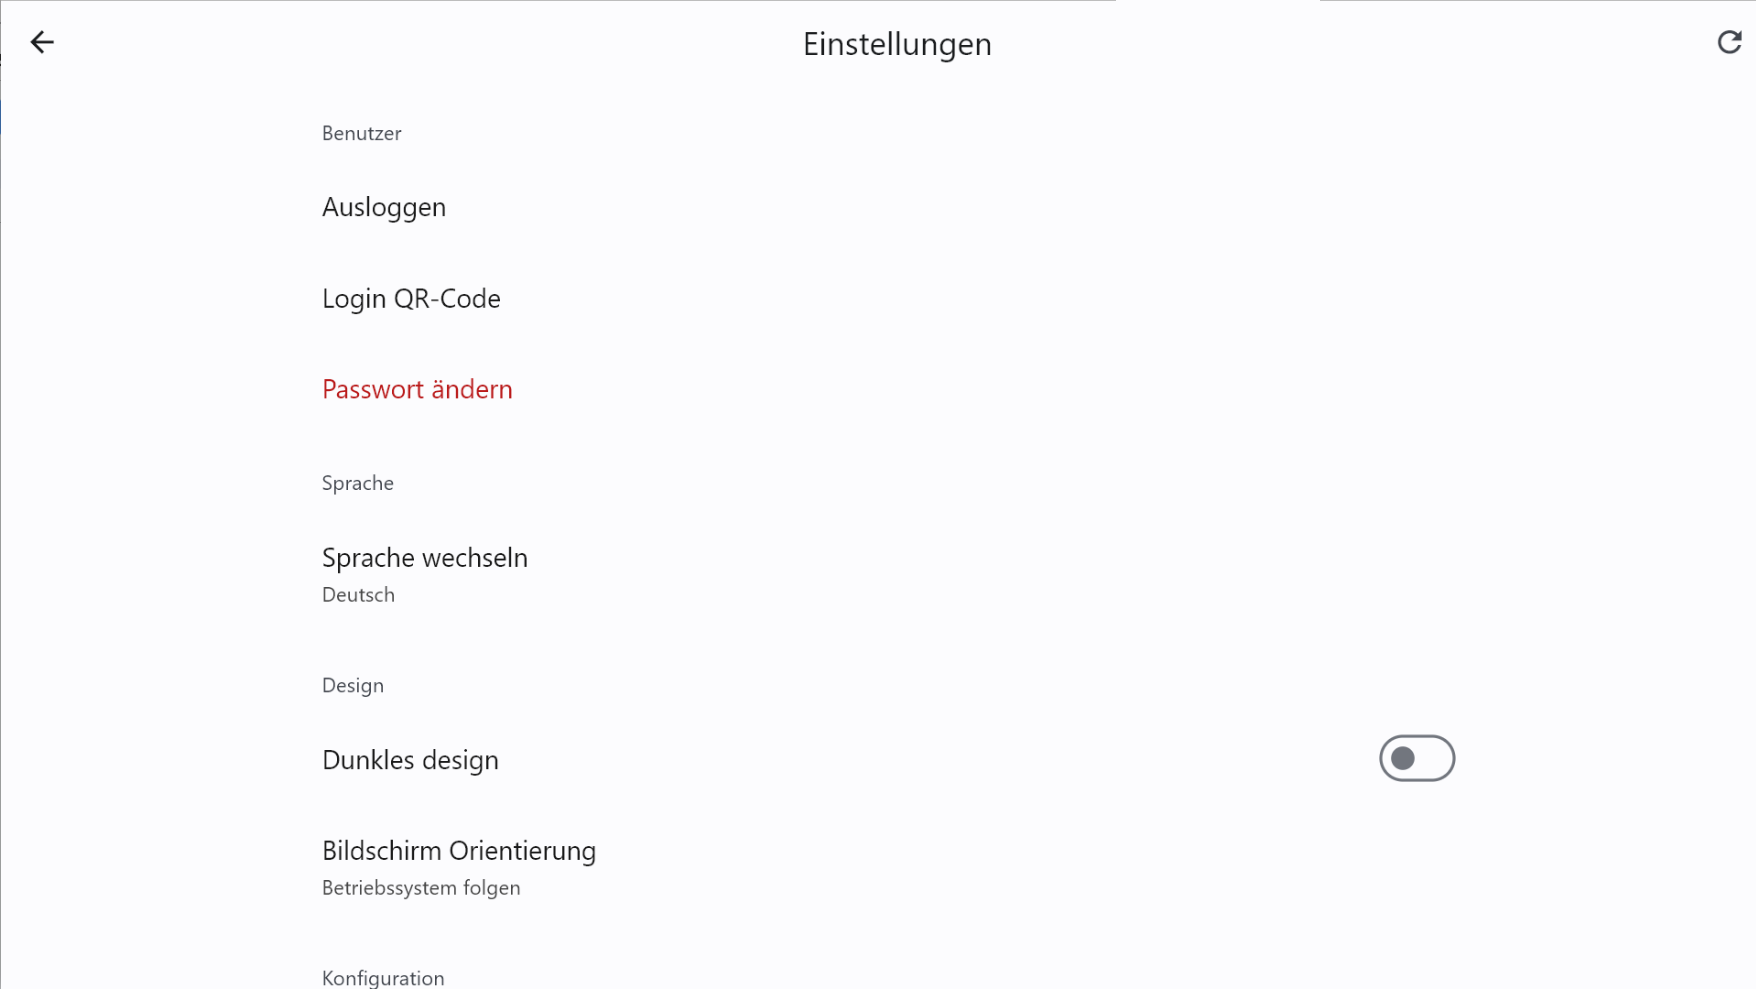 | The attendant can access the device configuration menu. |
| To exit attendant mode the cashier must use the logout button. |
Lock screen
The lock screen is designed for cases like known network or hardware issues. The SCO locks also itself when multiple health checks fail in a row e.g. when you are offline or have a flaky internet connection.
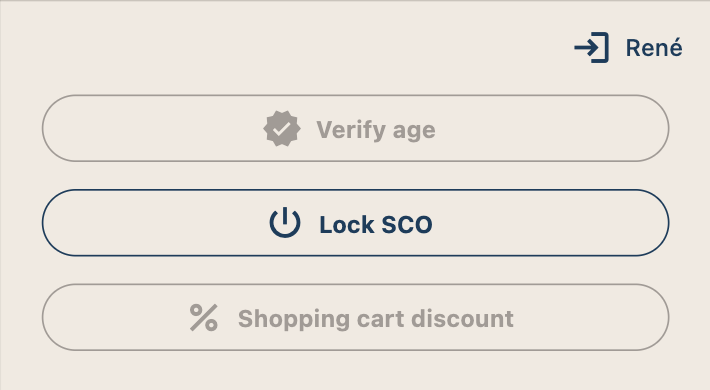 | You can lock the SCO by entering the attendant mode and select there the "Lock SCO" option |
 | When the SCO is locked you get the lock screen. In the upper right are up to 4 icons which indicates why the SCO is locked. |
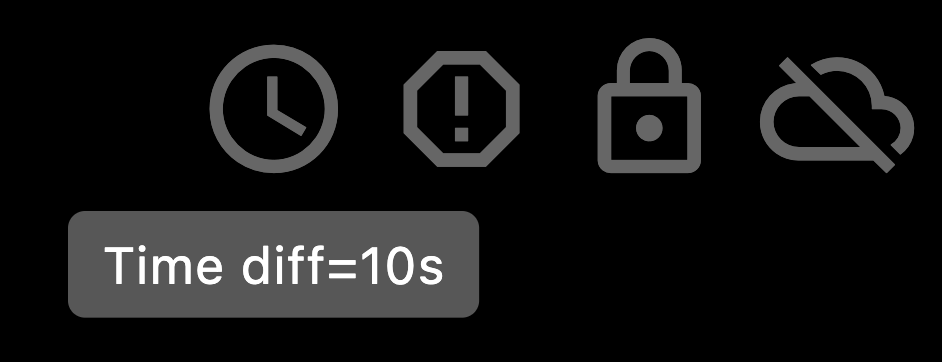 | Our POS software has some build in self checks one is a NTP time check. When the system time is off more then 5 seconds we show a warning here with the time diff in seconds. Please note when even the date is wrong our encrypted network connections might fail therefore this information is important. |
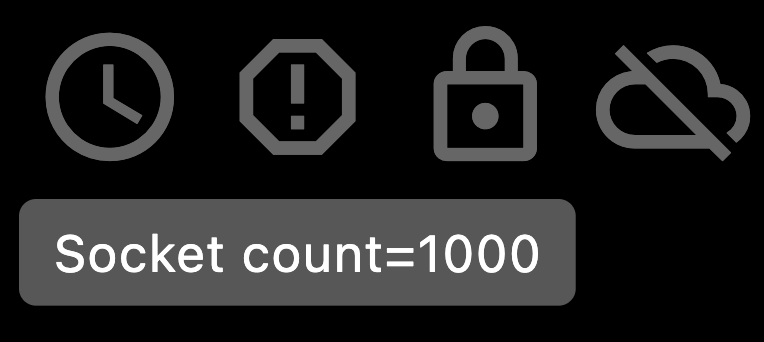 | This warning indicates that there are a lot of open TCP connections. When you hit the connection limit of your system you cannot connect to any TCP (like HTTP) services. The threshold are 5,000 connections. |
| When you locked the SCO in the attendant mode you will see this icon. | |
| When the health check failed for 5 connections in a row the SCO assumes that it is offline and shows this icon. |